The Spinning®Guide to Cycling Shoes and Cleats
The right cycling shoe can make a good Spinning® class great. Make the switch from athletic shoes or sneakers to cycling shoes, and you will experience a more comfortable, efficient and safer ride! Increased power and safety are just two of the biggest advantages of wearing cycling shoes in your Spinning class. Cycling shoes are made of light, breathable materials and conform closely to the shape of the foot for greater comfort, and they feature stiff soles that transfer even more power to the pedal and offer a better connection to the bike.
Get Advice from the Experts
As the creators of the indoor cycling category, we’ve asked our cycling experts about everything you need to know to find the right shoe for your Spinning classes. We understand it can be overwhelming to shop all the different bikes, cleats and cycling shoes, so we’re here to help!
The Basics
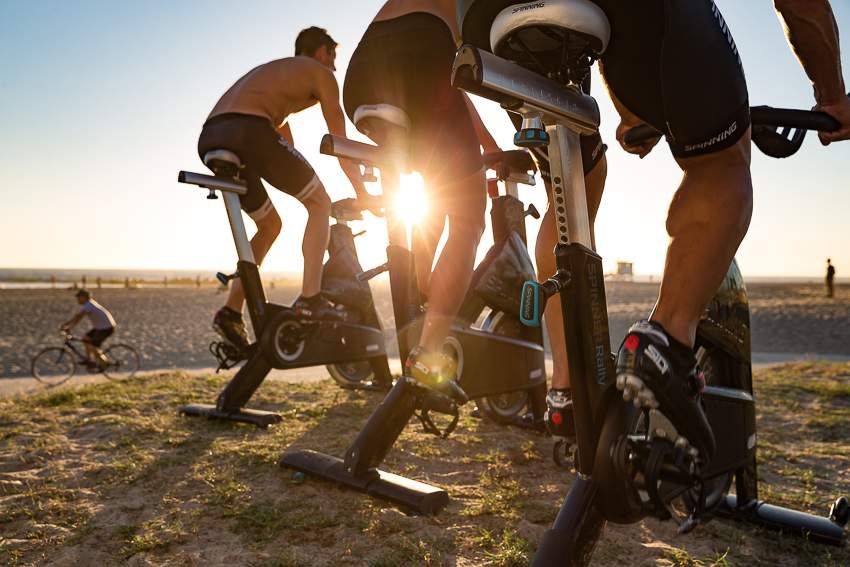
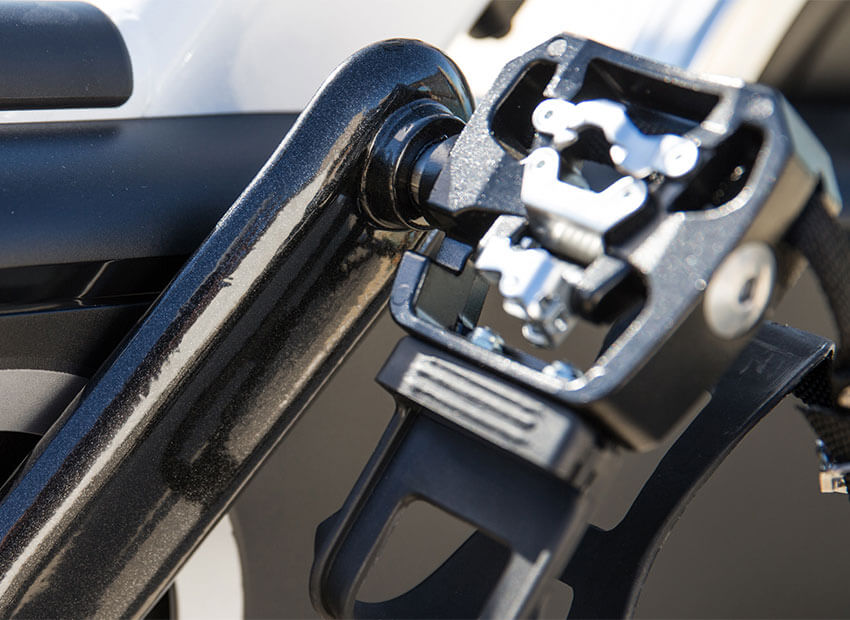
All Spinner® bikes have adjustable toe cages and straps so that riders can use any kind of athletic shoe or sneaker when they ride. But turn the pedal over, and you’ll see a clip that allows riders to attach their cycling shoes directly to the pedals with the right cleat attachment. This side will give you the most efficient, powerful and safest ride possible. That’s why we encourage using cycling shoes for every class to give you the best ride time after time.
Three Key Parts
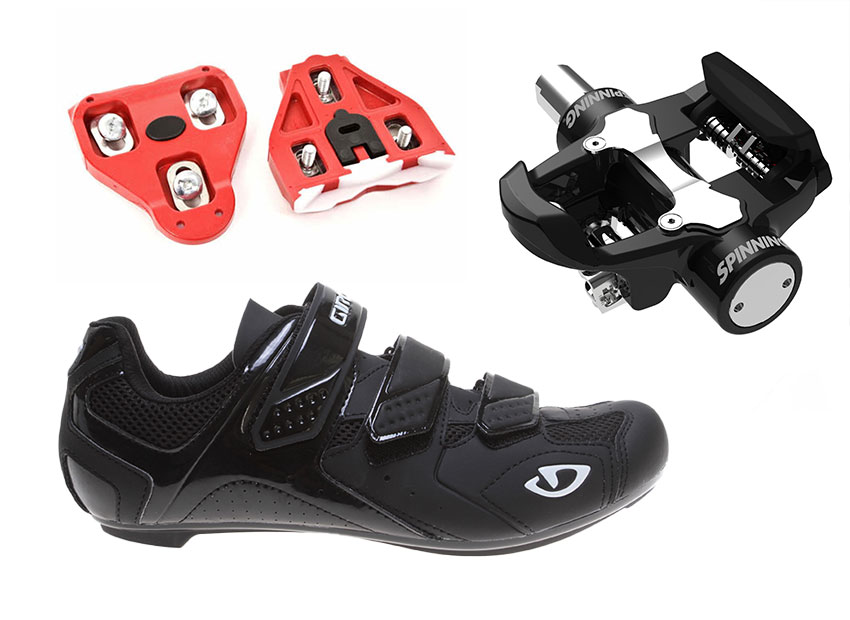
Using cycling shoes involves three key parts: the pedals, the shoes and the cleats. Putting these three pieces together properly will give you the best indoor cycling experience possible. Because shoes and cleats are often sold separately, and how they fit to the pedals depends on the indoor cycling bikes in your class, let’s look at each piece individually and see how they all work together.
Finding the Right Shoe
There are three simple steps to determining the right cycling shoes for you:
- Determine which pedal system is on your indoor cycling bikes.
All Spinner® bikes are compatible with Shimano® SPD® cleats. However, some Spinner bikes are equipped with the optional dual-sided TRIO® pedals, making them compatible with both SPD® cleats and LOOK® Delta cleats. Be sure to check with your facility to see what pedal system is on their indoor cycling bikes. - Find the cycling shoe that fits you best.
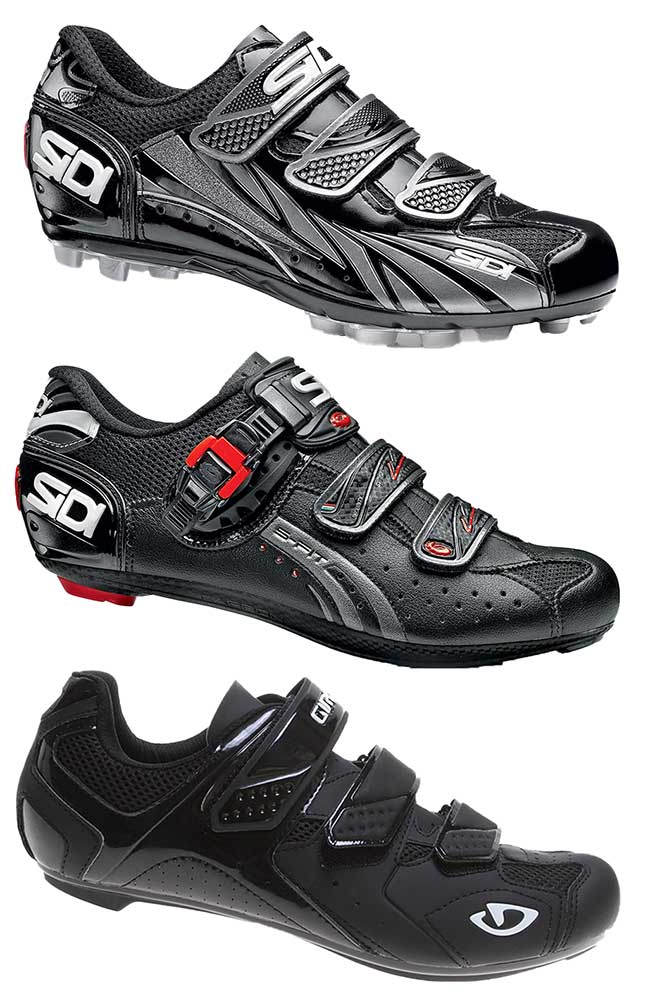
The ideal choice for Spinning® classes is to wear Shimano® SPD®-compatible mountain biking (MTB) shoes—they’re guaranteed to work with every Spinner® bike and have an outer sole that makes walking in them easy. If your facility’s bikes are equipped with TRIO® pedals, you also have the choice of road cycling shoes that are compatible with LOOK® Delta cleats. - Choose the right cleat that will attach your type of cycling shoe to your bike’s pedals.
Read below for even more info on shoes, cleats and pedals, and how they all work together.
Types of Cycling Shoes
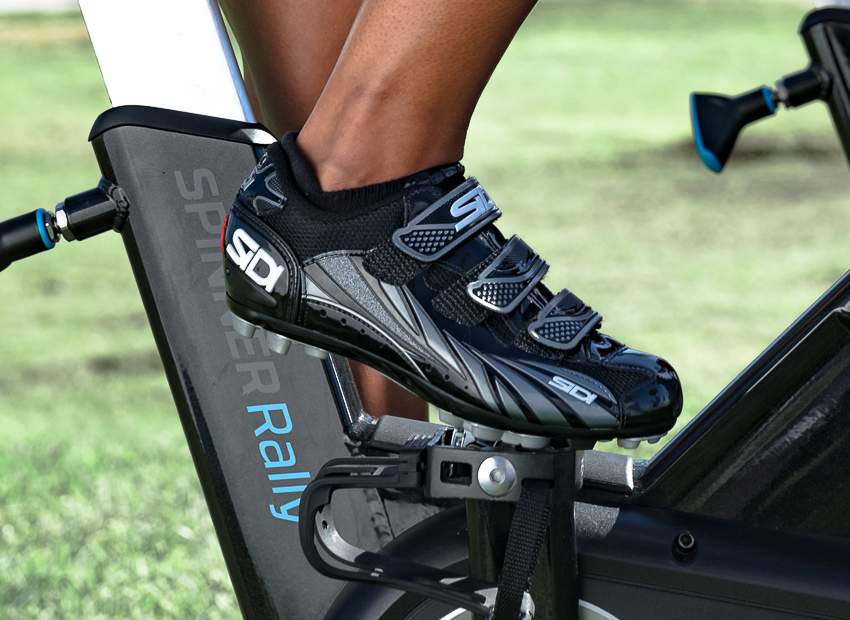
MTB Shoes - Mountain Bike Shoes (MTB) are durable enough for riding both indoors and out. MTB shoes are SPD®-compatible, so SPD® cleats will fit to your cycling shoes and clip-in to your Spinner® bike very easily. The 2- hole design of the SPD cleat connects directly with the sole of the shoes and allow you to point the foot in the proper direction (called “toe-in” or “toe-out”, which will be explained later) for an even more customized fit.
Road Shoes - Road shoes are specifically designed for outdoor road cyclists. They’re even lighter than MTB shoes and feature a very rigid sole with almost no flex for the highest efficiency during rides. Road cycling shoes are compatible with LOOK® Delta cleats. Their 3-hole design or “connection point” works with all road cleats and offers the most stability and a wide range of adjustability for foot placement and alignment.
(Universal) Shoes - At the Spinning® online store, you will notice a third category of shoes called Road (Universal) shoes. Also known as the “universal mount”, these are modified road shoes that can attach both Shimano® SPD® and LOOK® Delta cleats. It’s a great option for those who might prefer the road shoe feel but need Shimano® SPD® cleats for the bikes at their Spinning® studio.
Clipless Pedals
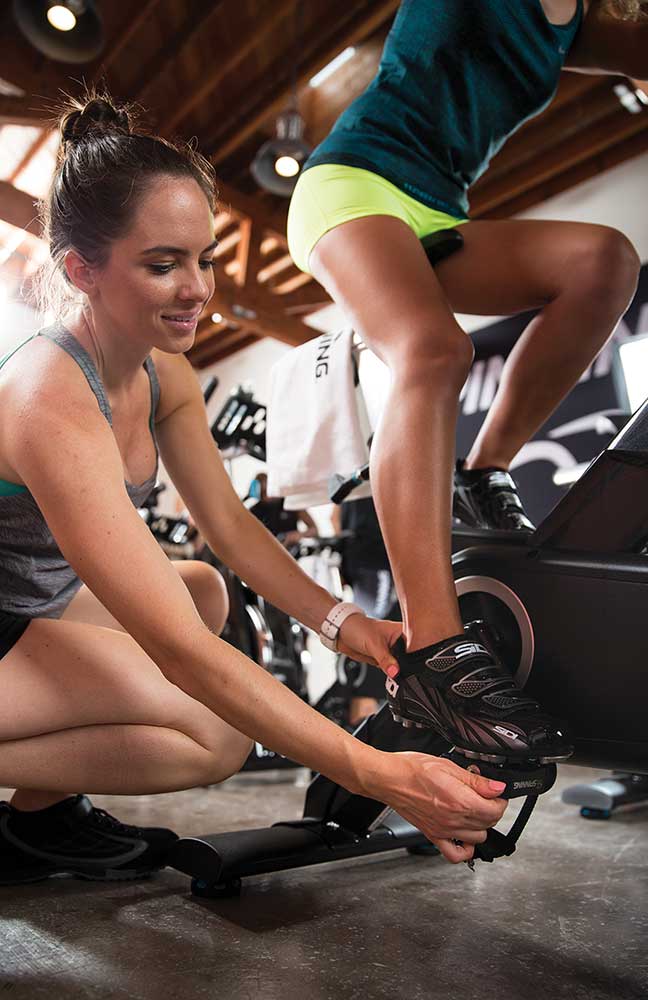
If you want the most out of your Spinning® experience, you’ll want to feel connected to your bike and pedal as efficiently as possible. That’s why we equip every commercial Spinner® bike with clipless pedals. Also called “clip-in” or “step-in” pedals, clipless pedals allow riders to securely attach their shoes and cleats to the pedals. Place the cleat on your shoe into the clip and push down, and you’ll feel yourself clip into the pedal. To release the clip, simply twist your heel away from the bike. All Spinner bikes are compatible with Shimano® SPD® cleats, but some are equipped with TRIO® pedals that are compatible with LOOK® Delta cleats as well. Be sure to check with your facility to see what type of pedals are on their Spinner bikes.
Your Shoe Isn’t Complete Without the Cleat
If you want to attach your new pair of cycling shoes to the pedals at your local Spinning® studio, you will need to attach cleats to your shoes. There are a variety of different cleat styles and designs, and they are usually sold separately from cycling shoes. You can read more about the different kinds of cleats and how they attach to your cycling shoes and pedals below.
How to Clip in
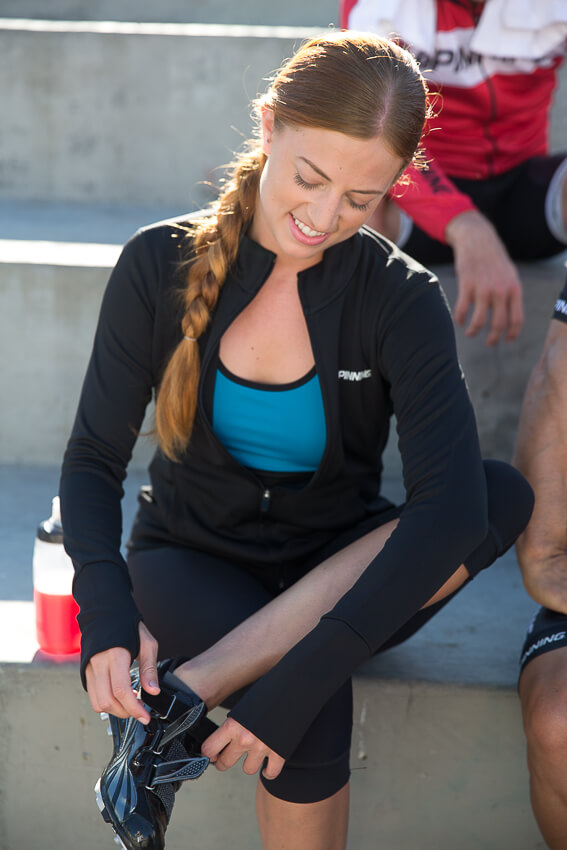
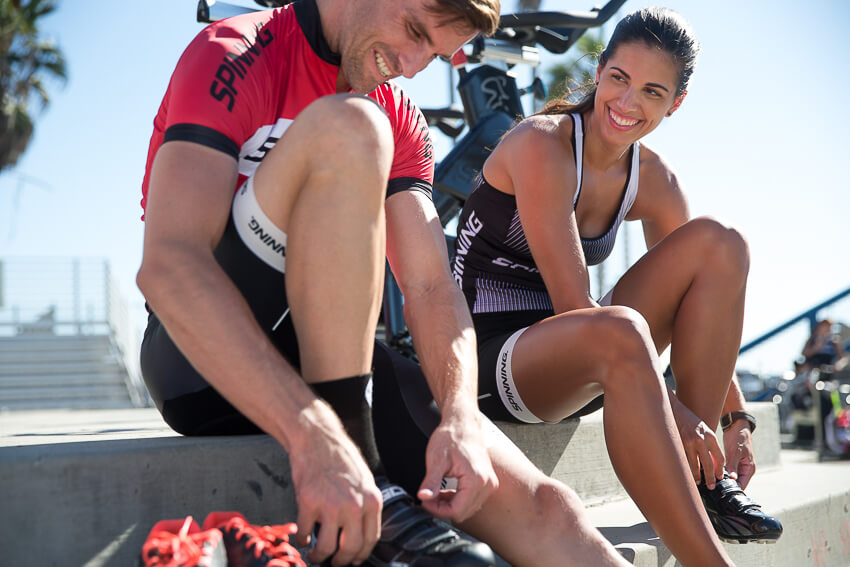
If you’ve never put cleats onto your cycling shoes before, we recommend you bring them to your local bicycle shop and have them installed by a pro. But if your local bike shop is closed or isn’t so local, here are some tips for attaching cleats yourself.
- Put your shoes on and find the ball of your foot. The cycling cleat should be aligned just under the ball of the foot for maximum comfort, performance and natural movement in the ankles to create a fluid pedal stroke and help prevent injury.
- Find the right toe-in or toe-out. Make sure the cleats are mounted to allow for a natural toe-in or toe-out. What do “toe-in” and “toe-out” mean? These terms define how your feet are pointed when you attach your cycling shoes to the pedals. Your feet should feel like they are pointing in their natural direction with no pain or twisting sensation in your hips, knees or ankles as you pedal. As a good starting point, make sure the cleats are pointed straight on the shoes and see how that feels.
- Make sure everything is tight. Make sure the cleats are screwed in as tightly as possible. They should sit nice and snug against the sole of the shoe and should not shift or rotate while attached.
- Clip in and start pedaling slowly. Cycling shoes with cleats are adjustable, but it can be difficult to find the perfect position on the bike. We recommend clipping in and pedaling slowly so that the cleat placement allows for the ball of your feet to be at the center of the bike pedal and that your toe-in/out feels natural when you are clipped in.
Types of Cleats
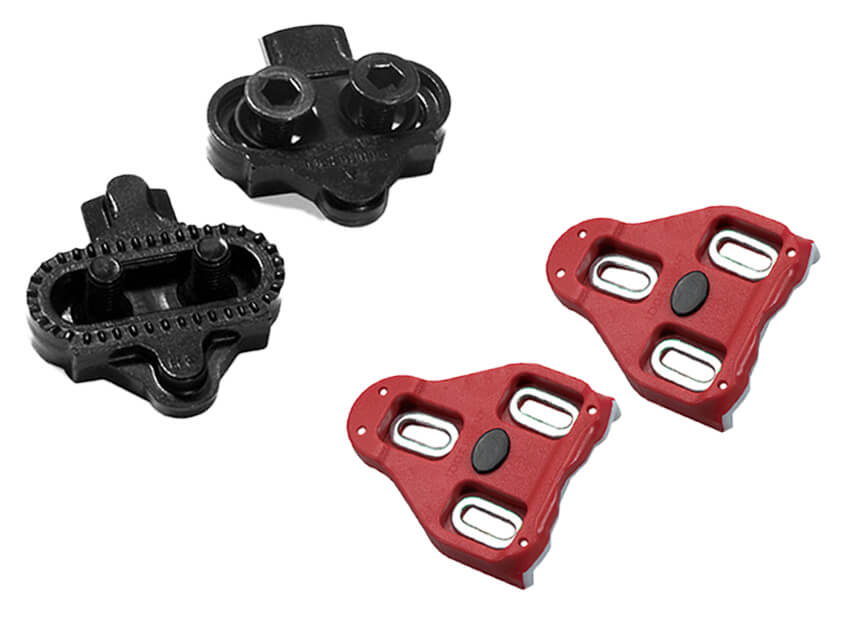
There are many other types of cleat and pedal systems out on the market. The two shown are the only cleats that will work with Spinner® bikes with either standard or TRIO® pedals. Check with your local facility to see what pedal system is on their indoor cycling bikes.
- Shimano® SPD® Cleats - Designed to be small, simple and will clip into the pedals of nearly all indoor cycling bikes.
- LOOK® Delta Cleats - Featuring a 3-hole arrangement that is adjustable for ultimate stability. TRIO® pedals support the use of Delta-style cleats.
What is “float” and why is it important?
Float refers to the amount of rotation your foot has when it’s clipped into the pedal. It is built into each cleat or pedal and is measured by how many degrees your feet can rotate left and right. Float allows your feet to rotate a few degrees from side-to-side while being securely connected to the pedals. This creates a safer, more natural pedal stroke while riding the bike both in the seated and standing positions.
It’s important to remember that your cleats should be snug and secure to the sole of your cycling shoe. If your cleats are twisting back and forth on your shoe, this is not a sign of float; it’s a sign that your cleats are not bolted in properly. So double check and make sure those cleats do not rotate when they are screwed into your shoe.
Consult with the staff of your local bike shop if you would like to learn more about float. Small differences in cleat adjustment can greatly impact your comfort and experience, so don’t be afraid to ask a local pro or your instructor about what might work best for you.